

Key Takeaways
- Layout and workflow decisions should be locked in before any surface finishes are chosen.
- Moving plumbing or electrical panels significantly increases cost and typically requires licensed professionals and permits.
- Ventilation is a code-regulated system - improper installation creates safety and code compliance risks.
- Sequencing renovation tasks correctly prevents costly rework - flooring usually goes in after cabinetry.
- A 15-20% contingency buffer is widely recommended to absorb unexpected structural or system discoveries.
- Complete the homeowner pre-project checklist before any contractor or permit conversation begins.
Start With the Work Triangle and Traffic Flow
Before you select a single cabinet finish or countertop material, the most consequential kitchen decision is spatial: how do the refrigerator, sink, and range relate to each other, and how do people move through the space?
The work triangle - the path between those three anchor points - has guided kitchen design for decades because it directly affects how efficiently the room functions. Each leg of the triangle is generally most effective when it measures between 4 and 9 feet, with a total perimeter under roughly 26 feet. Tighter layouts can feel cramped; sprawling ones create unnecessary steps during meal prep.
Beyond the triangle, consider traffic corridors. A main cooking corridor needs at least 42 inches of clearance for one cook; 48 inches accommodates two people working simultaneously. If your existing layout forces the primary pathway through the cooking zone, a structural wall assessment - not just a cosmetic refresh - may be what you actually need. See our guide to open-plan versus defined room layouts if you're weighing whether to remove or modify walls.
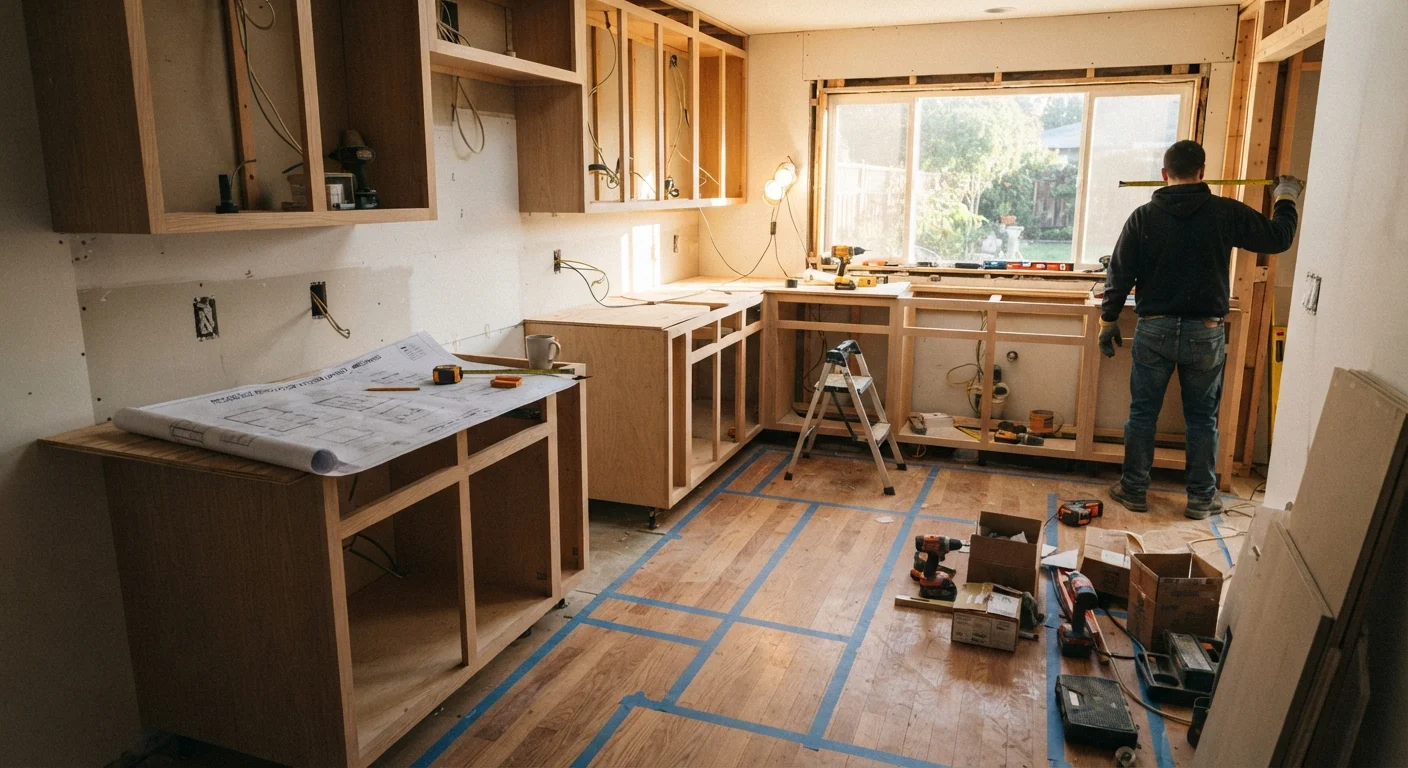
Before finalizing your layout, tape the proposed footprint on the floor with painter's tape and live with it for a few days - cooking, unloading groceries, setting the table. Paper plans rarely reveal awkward clearances the way walking through them does.
Spatial decisions are difficult to reverse once cabinetry is ordered or walls are moved; low-cost simulation catches workflow problems before they become expensive ones.
Ask your cabinet supplier for the actual box material specification in writing - not just the door style catalog. Plywood construction adds meaningful longevity in kitchens where humidity cycles are frequent.
Cabinet box material is not typically visible after installation and is often where cost is trimmed; specifying it explicitly ensures you get what you're paying for.
Cabinetry: Configuration Before Aesthetics
Cabinetry typically represents the largest share of a kitchen renovation budget, yet homeowners often spend disproportionate time on door style and finish before resolving configuration. Prioritize in this order:
- Storage needs: Inventory what you actually store - pots, pantry goods, small appliances - and map that to specific cabinet types (deep drawers, pull-outs, tall pantry units).
- Upper vs. lower balance: Open shelving is visually appealing but demands consistent organization. Assess your household's realistic habits before reducing upper cabinet count.
- Cabinet box quality: Dovetail drawer construction and plywood box interiors outlast particleboard in humid kitchen environments. This is a specification to verify, not assume.
Standard cabinet heights are 34.5 inches for base units (36 inches with countertop) and 84 or 96 inches for tall units. If anyone in the household uses a wheelchair or has mobility considerations, universal design guidelines recommend 34-inch maximum counter heights and knee clearance under at least one workspace section.
Countertops, Sinks, and the Plumbing Boundary
Countertop material selection involves a genuine trade-off matrix: durability, maintenance requirements, heat resistance, edge treatment options, and cost vary considerably across stone, engineered quartz, solid surface, laminate, and tile options. Each has legitimate use cases depending on your household's cooking intensity and cleaning habits.
The most important budget variable in this zone, however, is not the countertop itself - it's whether the sink stays in its current location. Moving a sink requires rerouting drain lines and potentially supply lines, work that must be performed by a licensed plumber in most US jurisdictions and that may require a permit. If your existing drain location constrains the layout you want, get a plumber's assessment early - before finalizing cabinet drawings.
Moving Plumbing Adds Significant Cost and Permit Requirements
Relocating a sink even a few feet often means opening the subfloor, rerouting drain lines, and obtaining a plumbing permit. In most US jurisdictions, this work must be performed by a licensed plumber. Budget and timeline estimates that assume the sink stays put will be meaningless if your final layout moves it.
Undermount sinks require a countertop material with sufficient rigidity and a finished underside edge - not all materials support this installation method equally. Verify compatibility before purchasing either component.
Ventilation, Electrical, and Work That Requires a Pro
Range hood ventilation is one of the most under-planned elements in kitchen renovations. A properly sized and ducted exhaust system removes combustion byproducts, grease-laden air, and moisture - all of which affect indoor air quality and long-term surface condition. The HVI recommends calculating CFM based on range BTU output and duct length; a range hood that recirculates air through a filter rather than exhausting outdoors is a significantly less effective option for high-heat cooking.
Ducting a hood to the exterior often requires penetrating an exterior wall or routing through cabinetry - work that involves both a contractor and potentially a building permit. Never assume an existing duct run is correctly sized for a new hood with higher CFM requirements.
Electrical decisions carry similar weight. Kitchen circuits are subject to specific NEC requirements: dedicated circuits for the refrigerator and dishwasher, GFCI-protected outlets within 6 feet of a sink, and a minimum of two 20-amp small appliance circuits for countertop areas. Any panel work, new circuit installation, or outlet relocation must be performed by a licensed electrician and inspected. This is not a DIY area for most homeowners.
Flooring and Lighting: Sequencing Matters
Two renovation decisions that are frequently made too late in the process are flooring and lighting - and both have sequencing implications that affect every other trade.
Flooring should generally be installed after cabinetry is set but before appliances are placed. If you plan to run flooring continuously under toe kicks (rather than stopping at the cabinet line), this must be communicated to your cabinet installer in advance - it affects base height calculations. Transitions between the kitchen and adjacent rooms also need to be resolved before flooring is ordered, particularly if the neighboring rooms have different materials or subfloor heights.
Lighting rough-in (junction boxes, recessed can housings) must happen before drywall is closed. Plan your fixture layout - task lighting over work surfaces, ambient overhead, accent or under-cabinet lighting - at the electrical planning stage, not after walls are finished. Under-cabinet lighting wiring is easiest to conceal during construction; retrofitting it later often means surface-mounted conduit or wireless battery options as compromises.
Setting a Realistic Scope and Budget
Kitchen renovations vary enormously in scope - from a cosmetic refresh (hardware, paint, lighting) to a full gut-and-reconfigure that touches every system in the room. The decisions above clarify which category your project actually falls into, and that determines your budget framework.
A widely cited rule of thumb is that kitchen renovation costs between 5% and 15% of a home's value represent a reasonable reinvestment range, though local market conditions and the extent of work make this a rough guide rather than a target. Whatever your scope, budget an additional 15-20% contingency to absorb discoveries - subfloor rot beneath old vinyl, outdated wiring that doesn't meet current code, or plumbing that can't be reused.
Before any contractor conversations begin, work through the homeowner pre-project checklist covering permits, contractor vetting, and safety steps. If financing is part of your plan, understand how the main renovation financing structures work before committing to a scope that stretches your cash position.
Kitchen renovations reward systematic decision-making. Lock in layout, then systems, then cabinetry configuration, then surfaces - in that order - and you'll spend far less time and money backtracking.