

Key Takeaways
- Air sealing around doors, windows, and penetrations is one of the most cost-effective winter prep tasks.
- Insulating exposed pipes in unheated spaces helps prevent expensive freeze-and-burst damage.
- Scheduling a heating system inspection before peak demand ensures reliability when you need it most.
- Gutters and downspouts must be clear before freeze-thaw cycles begin to prevent ice dams.
- Many weatherproofing tasks are DIY-friendly, but electrical, gas, and structural work requires a licensed professional.
What you will need
Why Pre-Winter Weatherproofing Matters
Winter preparedness is not just about comfort - it is about protecting your home from conditions that, if left unaddressed, can lead to structural damage, burst pipes, ice dams, and heating system failures at the worst possible moment. The preventive work done in autumn is almost always less expensive and less disruptive than the emergency repairs that follow neglect.
The tasks in this guide are organized around the most common and consequential failure points: air leaks, drainage, pipe protection, heating systems, and safety equipment. Completing them as a set - ideally before the first hard freeze in your region - gives your home a solid foundation for the months ahead. For a broader view of what to tackle throughout the year, see our seasonal home maintenance calendar.
Do a Daylight Door and Window Test
On a bright day, stand inside a darkened room and look around the edges of doors and windows. Any daylight visible around the frame indicates a gap that needs sealing. This simple visual check costs nothing and can reveal significant sources of heat loss in minutes.
Before you begin, gather what you need.
Caulking gun and exterior-grade caulk
Seals gaps around window frames, door frames, and exterior penetrations to block cold air infiltration.
Foam weatherstripping tape
Creates an airtight seal along the edges of doors and operable windows.
Pipe insulation sleeves (foam)
Wraps exposed pipes in unheated areas - crawl spaces, garages, attics - to prevent freezing.
Programmable or smart thermostat
Allows precise temperature scheduling, preventing both freeze risk and wasted energy.
Gutter scoop or garden trowel
Removes leaves and debris from gutters before freeze-thaw cycles cause ice dam formation.
Ladder (rated for your roof height)
Required for safely accessing gutters and inspecting roof edges.
Carbon monoxide and smoke detectors
Replacement units for any detectors that are expired or malfunctioning before heating season begins.
Review the prerequisites below to confirm you have the baseline knowledge and access to proceed safely.
What you will need
Step-by-Step: Winterizing Your Home
Work through these steps in order, or prioritize by the most pressing risk factors in your specific home. Homes with older plumbing, a recently serviced or aging furnace, or a history of ice dams should address those steps first.
Inspect and Seal Air Leaks Around Doors and Windows
Cold air infiltration through gaps around doors and windows is one of the leading causes of uncomfortable drafts and elevated heating bills. Run your hand slowly around each door and window frame on a windy day - any perceptible airflow indicates a gap that needs attention.
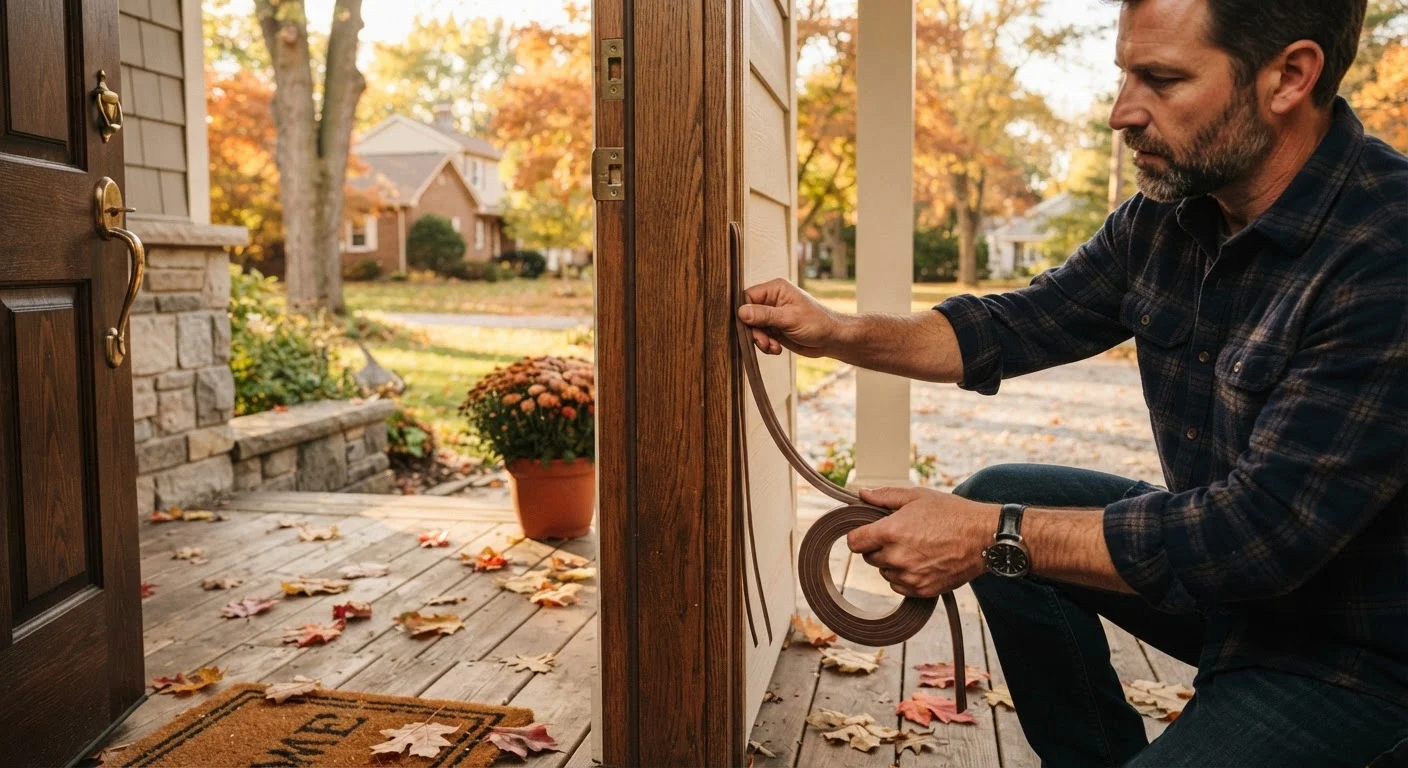
For stationary gaps between the frame and the wall, apply a continuous bead of exterior-grade caulk, smoothing it with a damp fingertip. For the moving edges of doors and operable windows, replace or add foam or V-strip weatherstripping. Pay particular attention to the door threshold; a worn door sweep along the bottom edge of exterior doors is a common and easily overlooked source of heat loss.
Clear Gutters and Inspect the Roof Edge
Clogged gutters trap standing water that freezes during cold snaps, expanding into ice dams that can force water up under shingles and into your home's structure. Complete gutter cleaning after the bulk of autumn leaf fall has occurred but before the first hard freeze in your region.
Remove debris by hand or with a gutter scoop, then flush each section with a garden hose to confirm downspouts are flowing freely. While on the ladder, visually inspect the roof edge for cracked, missing, or lifted shingles. Minor surface wear may be manageable, but any structural roof concerns should be assessed by a licensed roofing contractor before winter precipitation begins.
Insulate Exposed Pipes in Unheated Areas
Pipes running through unheated spaces - crawl spaces, attached garages, attics, and exterior walls - are vulnerable to freezing when temperatures drop below 32°F. A burst pipe can release hundreds of gallons of water before it is discovered, causing severe structural and cosmetic damage.
Measure the diameter of exposed pipes and purchase foam pipe insulation sleeves sized to fit snugly. Slip sleeves over the pipe and seal seams with the manufacturer's recommended tape. For pipes in particularly cold zones, a UL-listed heat tape (also called heat cable) installed per the manufacturer's instructions provides an additional layer of protection. Know the location of your main water shut-off valve so you can act immediately if a pipe does freeze.
Service Your Heating System Before Demand Peaks
A furnace or heat pump that has sat idle through spring and summer should be inspected and serviced before it is called upon for sustained heating. Schedule a professional HVAC tune-up in early autumn - technician availability tightens considerably once cold weather arrives and calls for emergency repairs surge.
During a standard service visit, a technician will typically inspect the heat exchanger (critical for detecting carbon monoxide leaks in forced-air systems), clean burners, check electrical connections, measure airflow, and replace the air filter. Replace the filter yourself between service visits - typically every 1 to 3 months depending on filter type and household conditions. A clean filter maintains system efficiency and indoor air quality throughout the heating season.
Test Safety Detectors and Review Your Emergency Plan
Heating season brings increased risk from carbon monoxide - an odorless, colorless gas produced by combustion appliances including furnaces, water heaters, fireplaces, and generators. Test every smoke and carbon monoxide detector in the home by pressing the test button. Replace batteries in any unit with a low-battery warning, and replace any detector that does not respond to testing.
Check the manufacture date stamped on the back of each unit. Smoke detectors should be replaced every 10 years; carbon monoxide detectors typically every 5 to 7 years, though check the specific manufacturer guidance for your model. Confirm that your family knows the location of the main gas shut-off and that everyone understands what to do - including evacuating immediately - if a CO alarm sounds.
Gas and Electrical Work: Hire a Licensed Pro
Any task involving your furnace's gas supply, electrical connections, or your home's main electrical panel must be performed by a licensed professional. Improper work on these systems creates serious fire, explosion, and carbon monoxide risks. Always verify that contractors hold the appropriate state or local license before work begins.
Once your indoor systems are addressed, consider the exterior: gutters, roof edges, and outdoor water sources often cause the most expensive damage when ignored. If you have an attached garage or vehicle to consider as well, our article on preparing your car for cold weather covers parallel seasonal steps for your vehicle.
For homeowners who want to audit their entire property condition in one pass, our annual home maintenance checklist provides a room-by-room and exterior framework that complements the seasonal tasks described here. And if unexpected repair costs are a concern, our overview of saving and emergency funds offers guidance on building a financial cushion for home surprises.